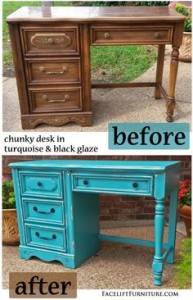
Some things are harder than they look. Case in point – those BEFORE & AFTER photos on Pinterest where people take hideous, dull brown furniture they find at a garage sale and with a few coats of paint transform them into colorful, vintage chic furniture.
 It’s amazing how distressed furniture can look so beautiful and modern! See the photo on the right for a perfect example.
You can spend hours reading or watching the tutorials online to learn how to do it yourself. But that approach can sometimes leave your more confused because you realize just how many options you have when it comes to paint, materials, and techniques. Arrgh!
What type of paint should I use? What’s chalk paint? What’s milk paint? Which is better for my project?
Do I need to sand my furniture first? How much sanding is even necessary?
What should I use for my topcoat? How do I apply antiquing wax?
What’s the best method for re-creating the gorgeous, distressed looks I see in online photos?

A furniture painting class allows you to learn by doing with help from an expert.
After reading about milk paint, I really wanted to try it because it’s completely free of any harmful chemicals. In fact, it’s made with only five all-natural ingredients. Milk paint also has the reputation of being easy peasy to use to get a chippy, antiqued or distressed look.
BUT… because milk paint comes in powder form, I was intimidated to try it myself. Plus, what a strange name!
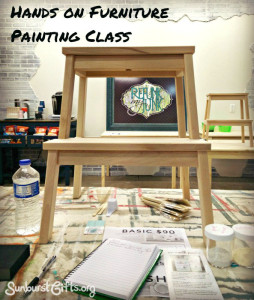
So I decided to take a local Milk Paint 101 workshop. In the furniture painting class, we painted our own step stool using milk paint. I learned how to mix it and the different methods for applying it to get various distressed “looks.”
Continue Reading


